
BOOT(y)CAMP 🍑: Week 2
Welcome to week 2 of KIMFIT HIPS BOOT(y)CAMP, you survived the first week…

In Week 1, you learned about the basics of breathing, pelvic positioning, and some foundational movements that you should be doing everyday! So now that we’ve established the basics, lets get into some real action of the hips and start seeing some progress! For Week 2, our focus is on HIP Flexion & Extension. When we think of Flexion and Extension of our hip, think about the hips moving forwards and backwards, up and down, bringing the femur closer to our body and farther away from our body.
Here’s a calendar to follow along! Happy moving!
-Coach John

Week 2: FLEX & EXTEND THOSE HIPS
Let’s first break down the basics, if you haven’t done a self-assessment on your hips, now would be a great time to start! That way you’ll have a starting point of your current state of mobility for Hip Flexion & Extension.
ASSESSMENT
1. HIP FLEXION
Now that you know where your starting point is, let’s start with Hip Flexion. If you did the assessment, you were on your back and you brought one knee in towards your chest, then the other, then both. Bringing the knee in towards the chest is an example of hip Flexion, as we bring our knee in, our hip flexors, or our iliopsoas & rectus fermoris contracts and pulls the femur in, shortening the muscle. If you have some limitation to hip Flexion, this can translate to a poor squat, pain while sitting, or poor performance unilaterally (single sided) in your split squats, lunges, step ups, etc. When we think about our hips, lets think about them in a neutral position, where your pelvis is drawn in towards the spine, *using the cup metaphor*, the cup of water is not spilling out in front or back. When bad habits of poor posture and sitting affect our spine, we usually end up in a posterior pelvic tilt, where our hips are spilling water towards the back, and we tend to slouch back against your chair, however you can also have an anterior pelvic tilt bad posture.
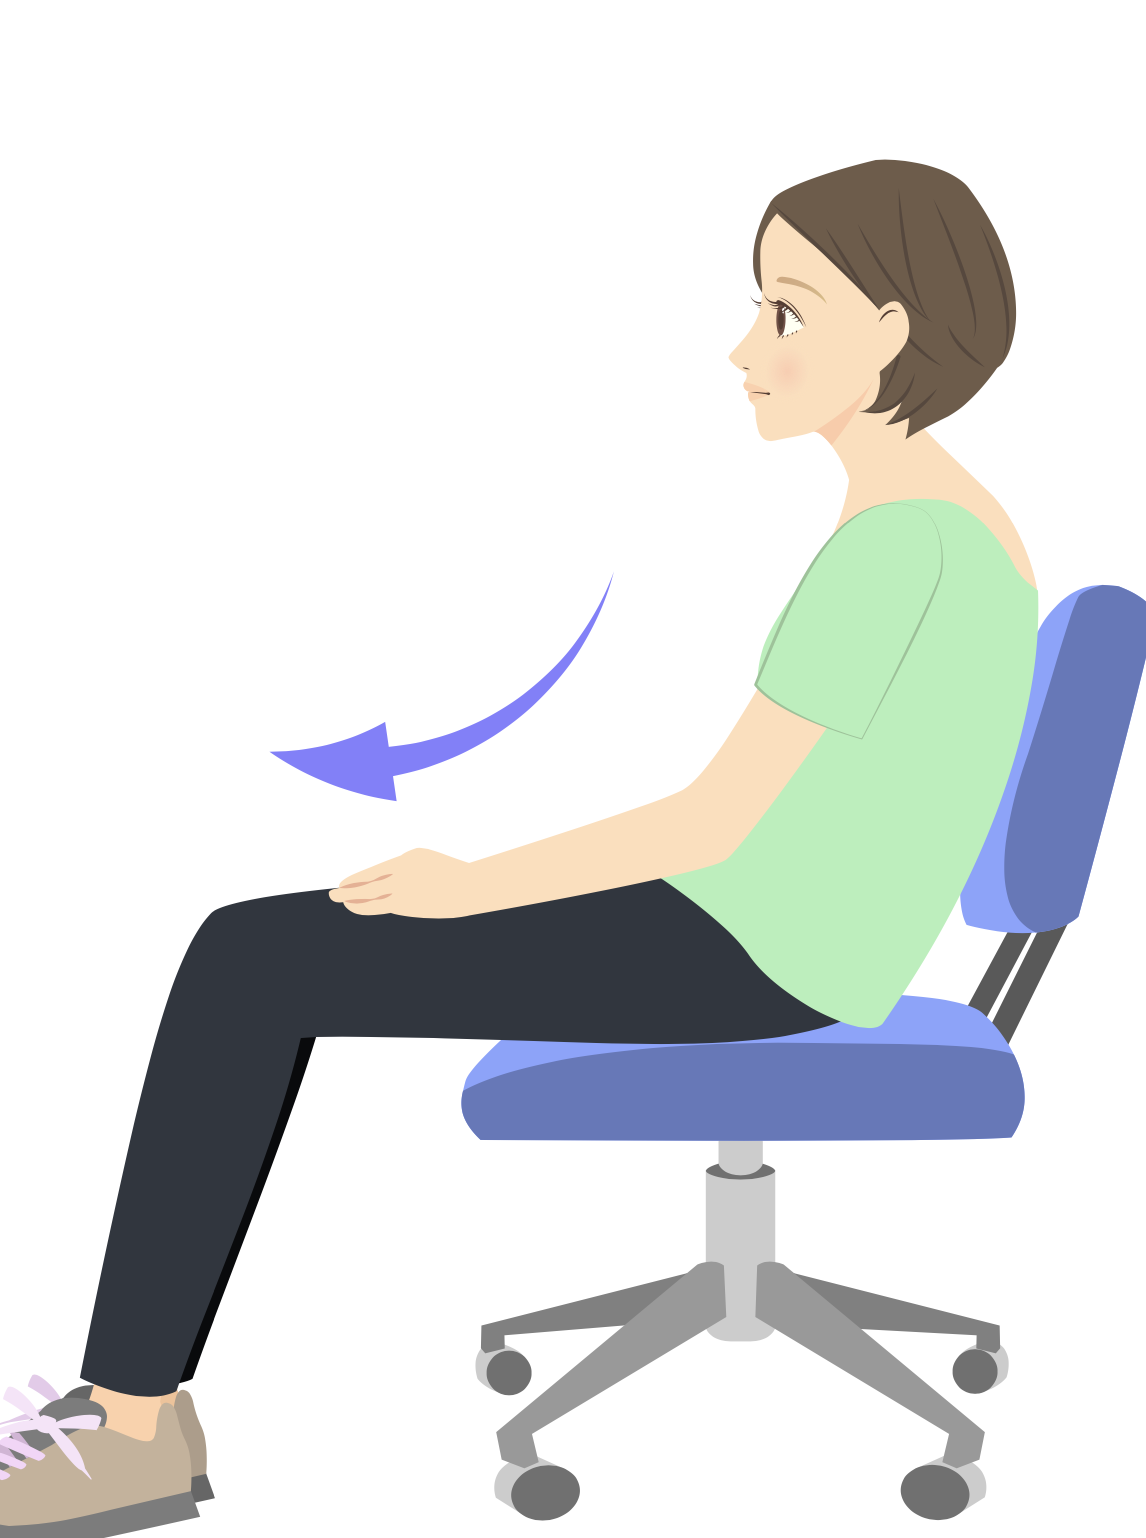
Posterior Pelvic Tilt - Sitting
In the instance of a dominant Posterior Pelvic Tilt, the connection of your psoas, which attaches at the lower thoracic & lumbar spine, as well as the the top of the pelvis itself (or the ilium) (hence the name iliopsoas) and attaches to the lesser trochanter of the femur. When your body adapts to poor posture, our hip flexors shorten, because when you sit like this for a prolonged period of time, your fascia adapts to your lifestyle*, so your hip flexors stay shortened, so they become weak, and short. So when you are trying to squat low, or lunge or stepping up, and you feel this sharp pain in the front of your hips, that probably due to a not-so-functioning hip flexor, because of the lifestyle habits that have become “normal”.
So how do we fix this?
Well, we must know where our starting point is, or else we are just doing random things to see if it works. Does that sound efficient? No.
Would you let your doctor just perform random surgeries on your and hope for the best? NO.
So we MUST identify our starting point, because that will be different for everyone, and it might even be different for both your hips, and that’s fine.
2. HIP EXTENSION
Now let’s get into the opposite of flexion, Extension! Again, do the assessment first, you’ll be on your stomach for this test, and all you are doing is trying to lift your leg off the floor! The goal here is for your hip to not come off the ground, compression in your low back, or any twisting in the body. Once you’ve identified your starting point for hip extension, lets get into a little knowledge about hip extension.

Anterior Pelvic Tilt - Sitting
Think of Hip Extension as bringing the top of your pelvis backwards, or kicking back. This can be done on your stomach, or standing or even in a quadruped position. There are many ways to attack the posterior side (back) of your hips. If you’ve ever seen people working out and their goal is to have a BIG BOOTY, you will see them doing leg kickbacks with an ankle weight on, or a mini band (For the BURN), or a cable attachment and they are swinging that leg back for DAYS or something as simple as a glute bridge. Now those are great exercises to help with isolating the glute max, your hamstrings, and your adductor magnus, all muscles involved in hip extension, but let’s discuss some issues first and then identify ways in which we can build that perfect peach. So let’s address hip positions. ANTERIOR PELVIC TILT. This is an age old problem of people sticking out their butts to make it look like they have a big booty, but in reality, your just arching your back. Ya that’s fine go do that in your pictures, but don’t do it when you are exercising, it will actually make things a lot worse!
So anterior pelvic tilt, water is POURING out the front your hips (cup), when this happens we compress our lumbar spine, so all the muscles that attach posteriorly (all the muscles involved with hip extension), WILL NOT GROW OR GET STRONGER if your hips are in an ANTERIOR PELVIC TILT AND you’re going to hurt your back. When your hips are pulled back in such a way, your hamstrings are going to lengthen and become stretched out and weak. At the lumbar spine, compression happens and becomes shortened and tight. At the front of our body, hip flexors lengthen and also become weak, and our core muscles lengthen to meet the demand of you arching your back (and also become weak). Then when you try to lift anything in a front loaded or back loaded (barbell), you are going to hurt yourself. (Trust me, i herniated my L4-L5 disc in 2016). My hamstrings were always tight, hip flexors could not move, and had no control of my pelvis, and after 3 years of poor mobility and lifting really heavy weight, my poor spine couldn’t take anymore and herniated a disc at the age of 21. When this happened, I actually didn’t know I herniated it, until 6 months later, when I was back at school in the fall semester and couldn’t sit for more than 5 minutes without excruciating nerve pain going down my legs. I grew really strong quads, and I was able to grow my hamstrings, but my butt never grew, and its because i never knew about the pelvic tilts and how important that is to glute development, reducing back pain, and proper alignment when working out.
So now that I hopefully have convinced you to stop arching your back, let’s get back to pelvic posture. It’s super important for everyone, the way you sit, stand, and move, it all connects together at the pelvis. So long story short, know how to move your pelvis from anterior to posterior and to neutral, and you will have healthy hips and a healthy low back for the rest of your life, you’ll grow the butt you want to grow, and have great mobility which will lead to a lifetime of movement. And I forgot to mention, that improving your pelvic posture will improve your spinal posture (so if you are worried about having a hunched forward upper back, work your pelvis first, and things will improve).
So how do we fix our anterior pelvic tilt through hip extension? This is going to come from a lot of breathing, isometric contractions, and stretches that you can do to improve your pelvic posture.
So lets get into the fun part and BOOT(y)CAMP and learn how to improve your Hip Flexion & Extension!
3. BREATHING
Breathing in these positions will allow you own the position BEFORE we add in movement. So if you can’t breathe in these positions for two minutes then dont expect to get better at the Movement you want to achieve. This weeks breathing positions:
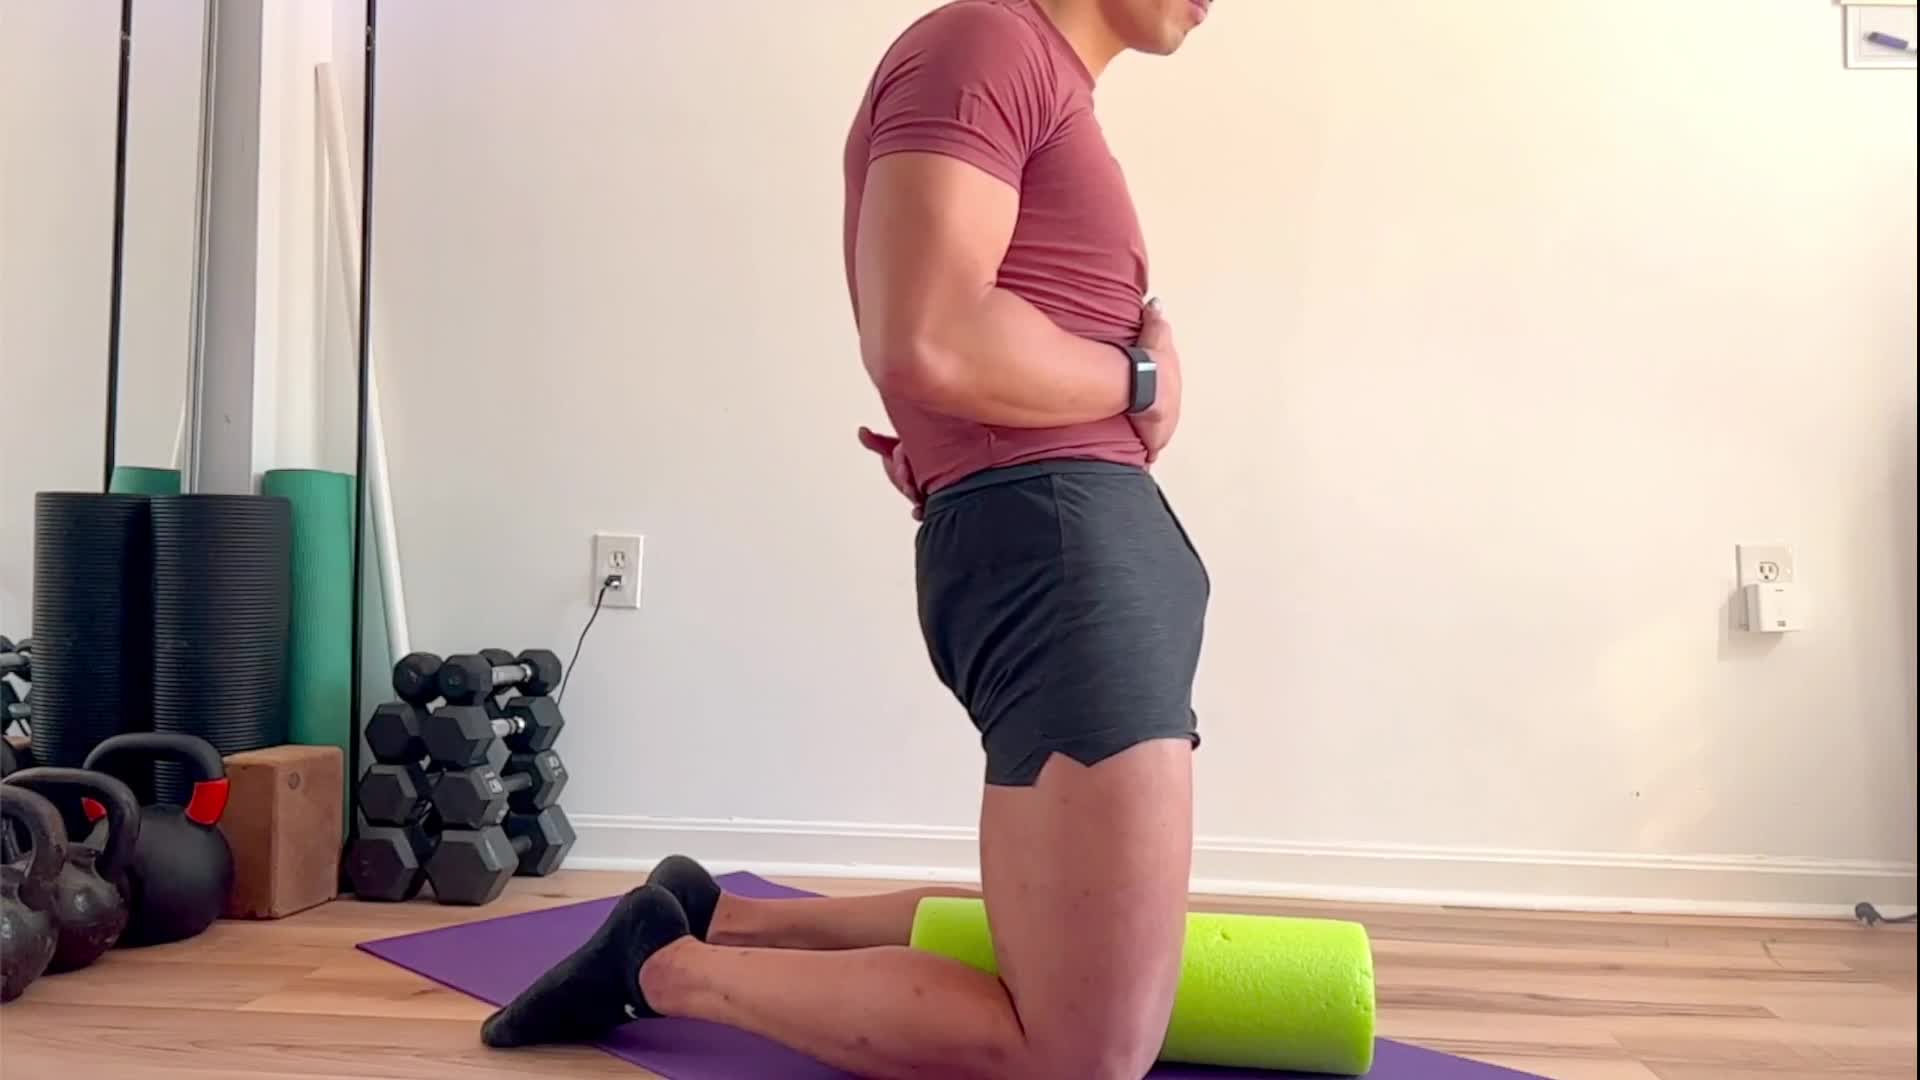
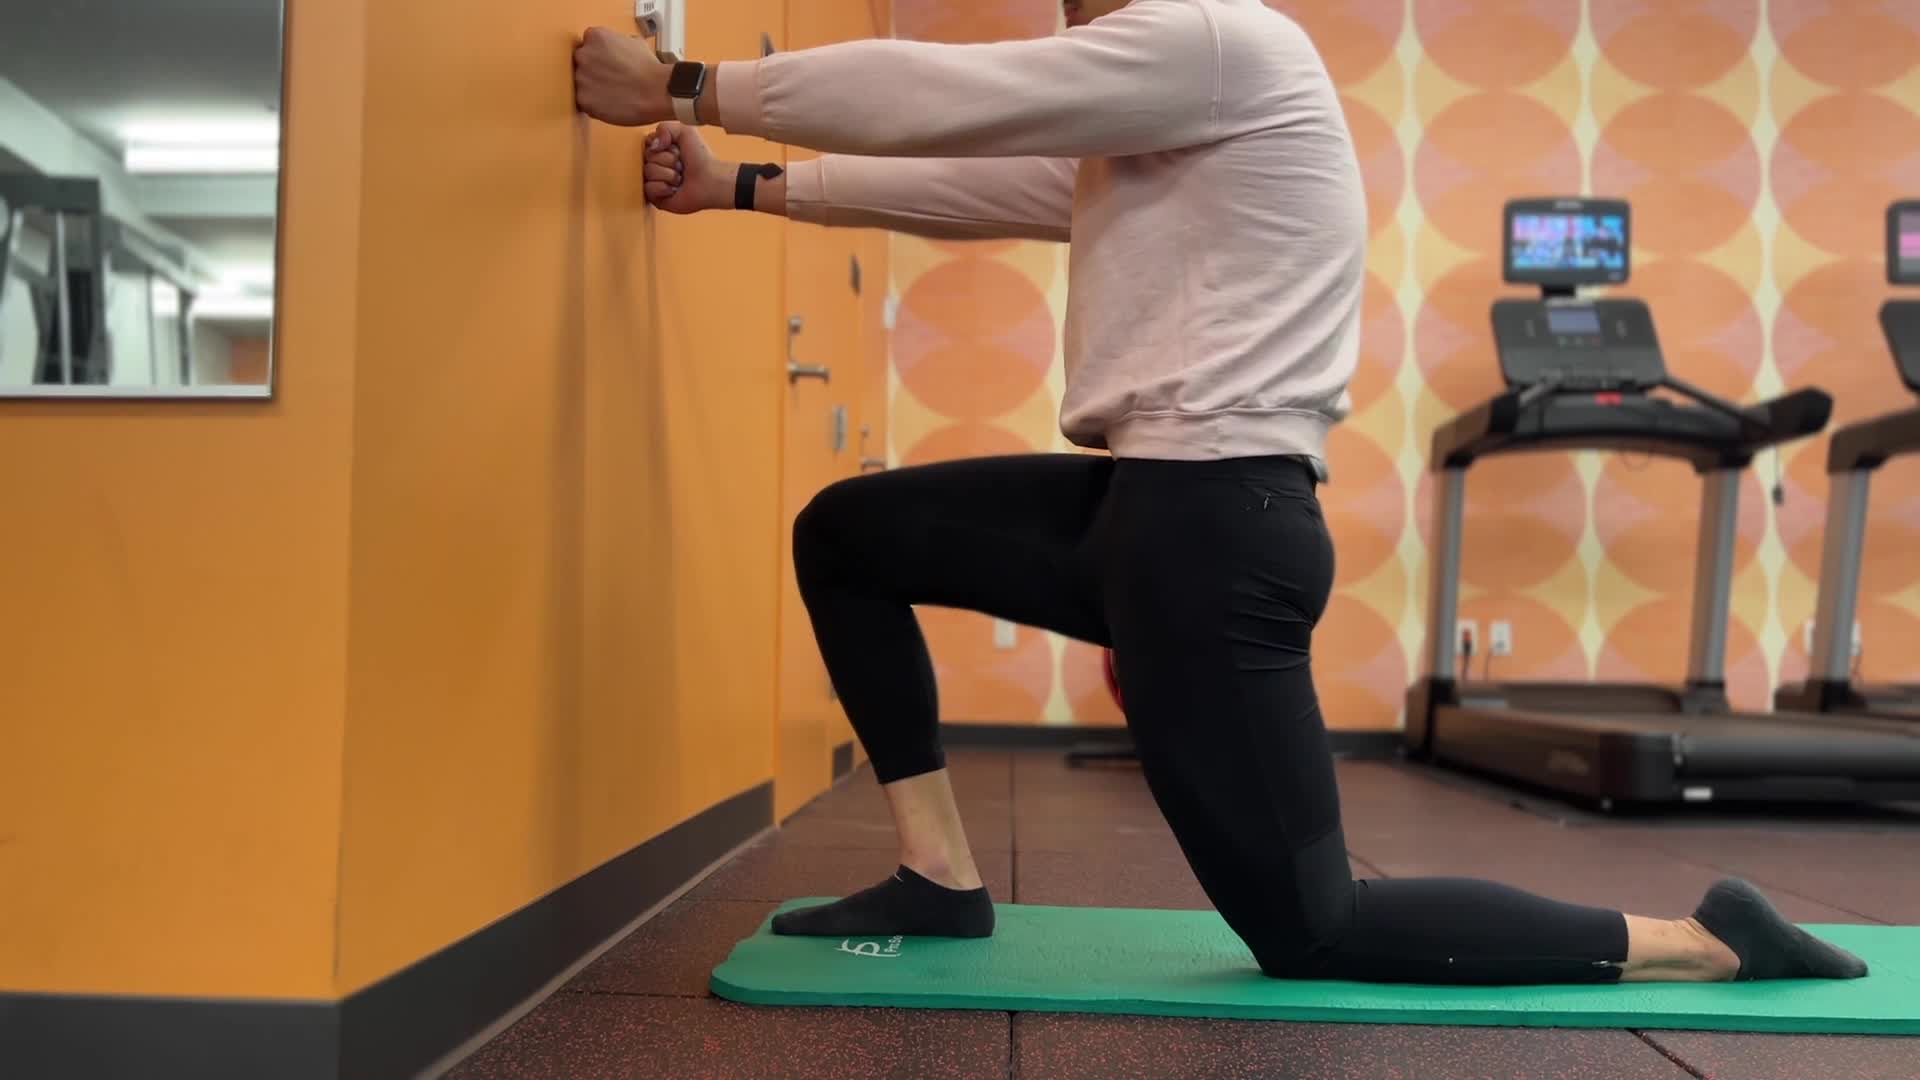
-Tall Kneeling Breathing
Is a great way to identify your pelvic posture without the knees as another joint to worry about.
Use a foam roller or yoga block to squeeze between your legs so that you can create tension in the deep pelvic muscles & core
Play around with what an anterior pelvic tilt & posterior pelvic tilt and then find the middle (neutral)
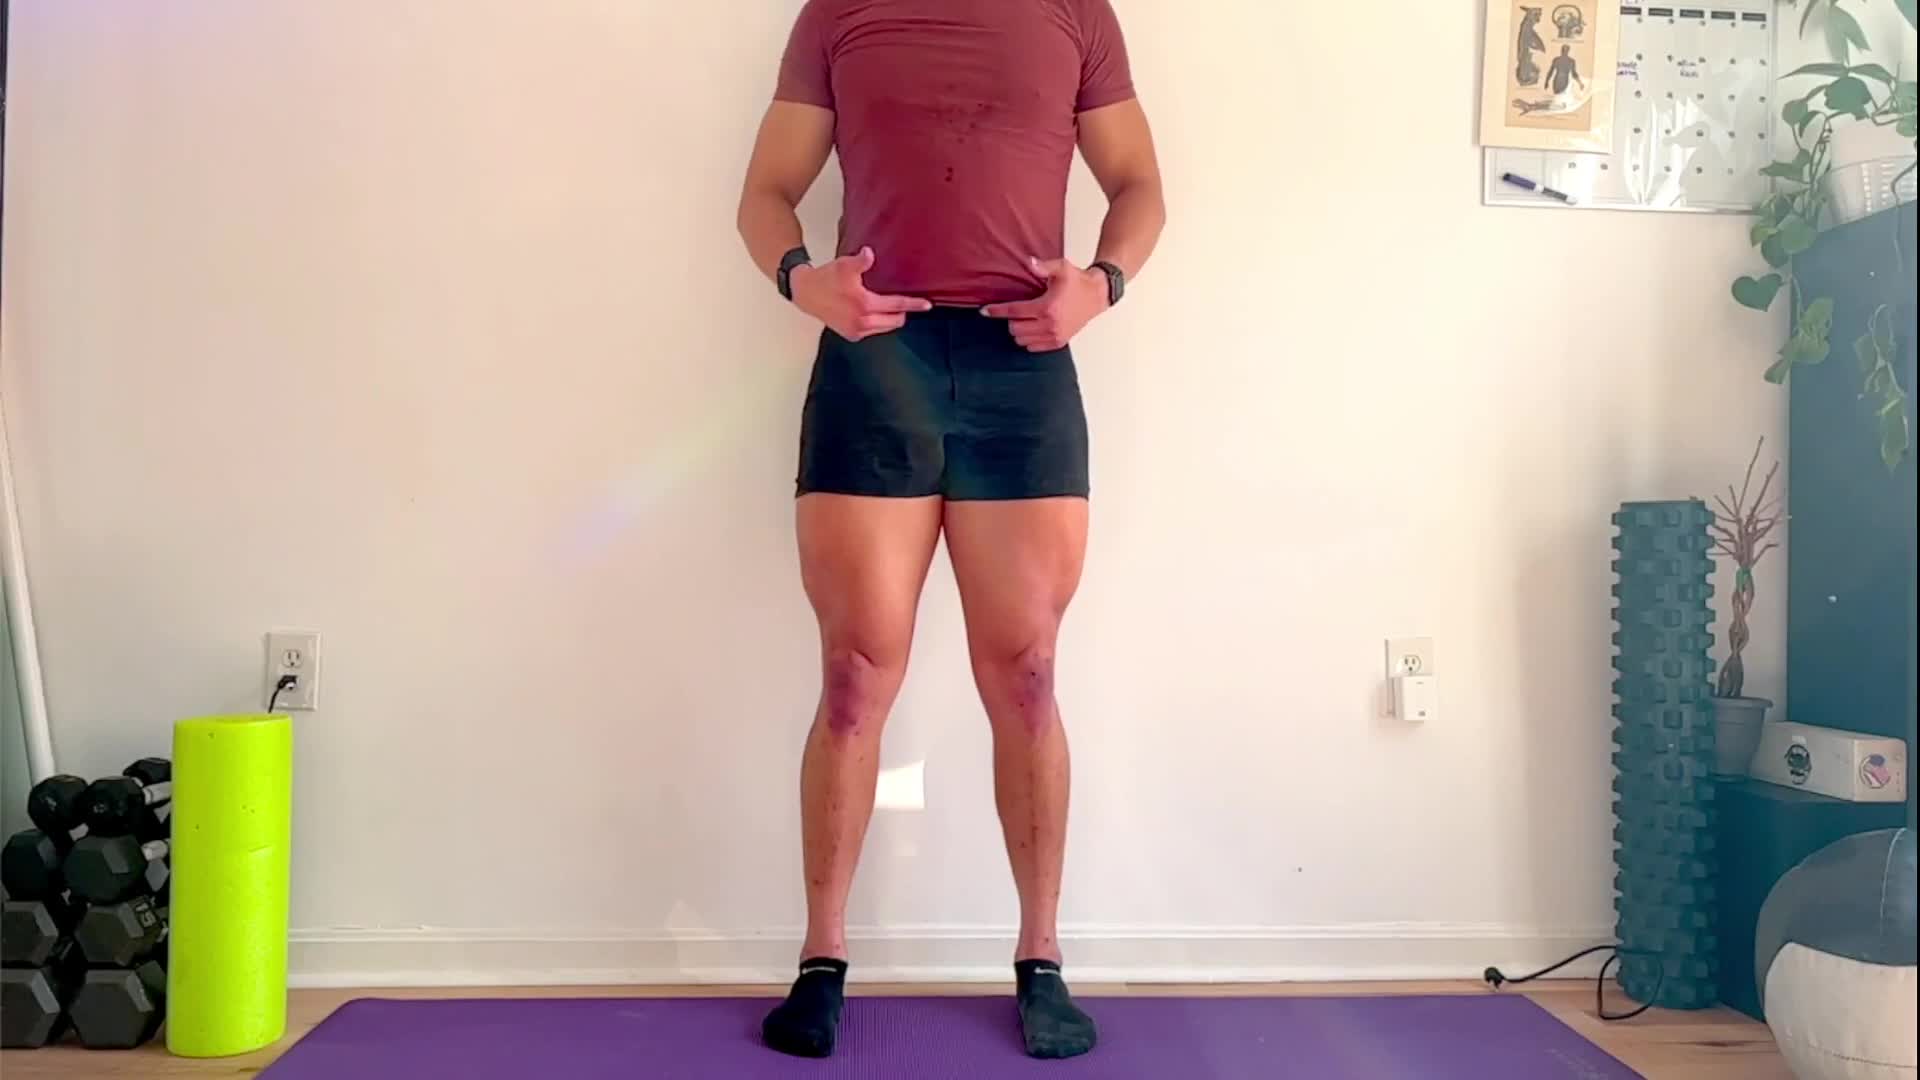
-Elevator Breathing
Great for finding your deep pelvic floor muscles (especially great for pregnant or moms who just had a baby to train/retrain (or anyone looking to get better control of) your deep pelvic floor muscles
Since this is done standing this is a more advanced breathing position, so make sure you have mastered the sitting, as well as the tall kneeling before attempting this one!)
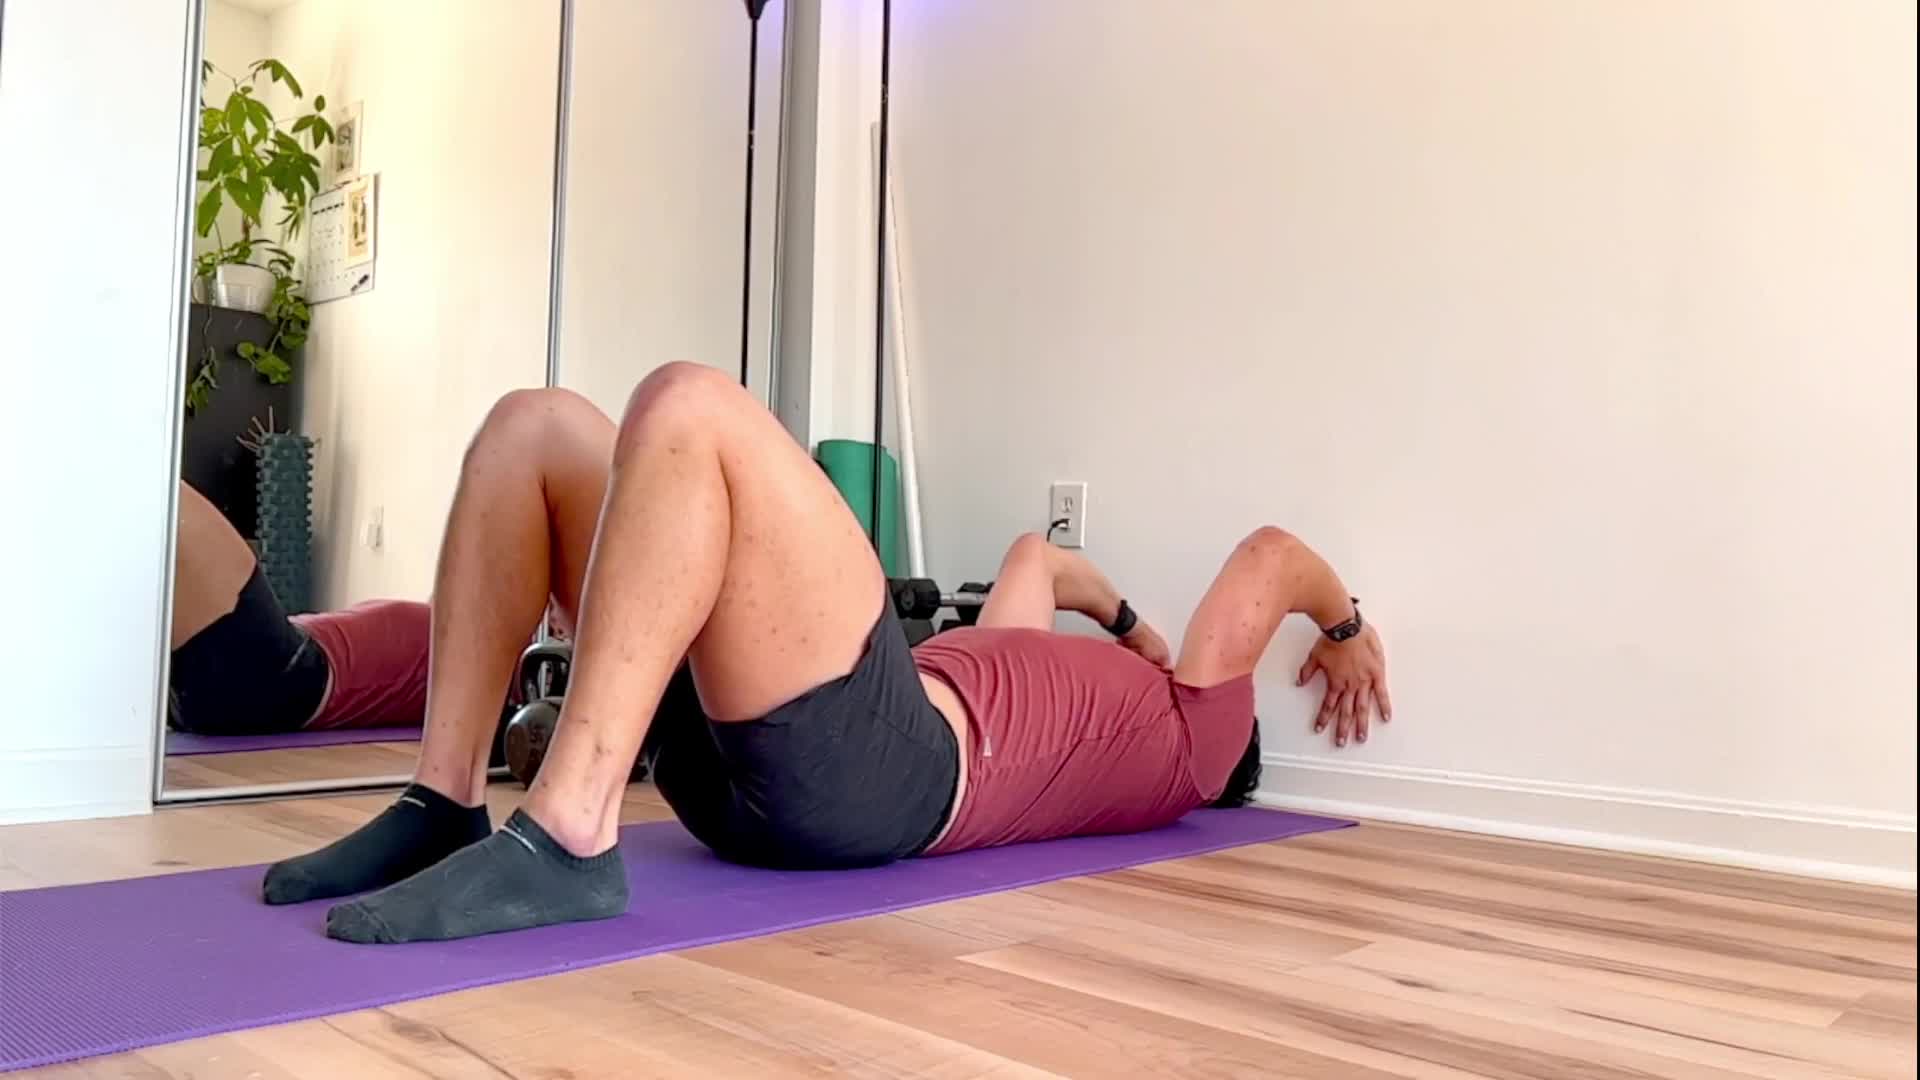
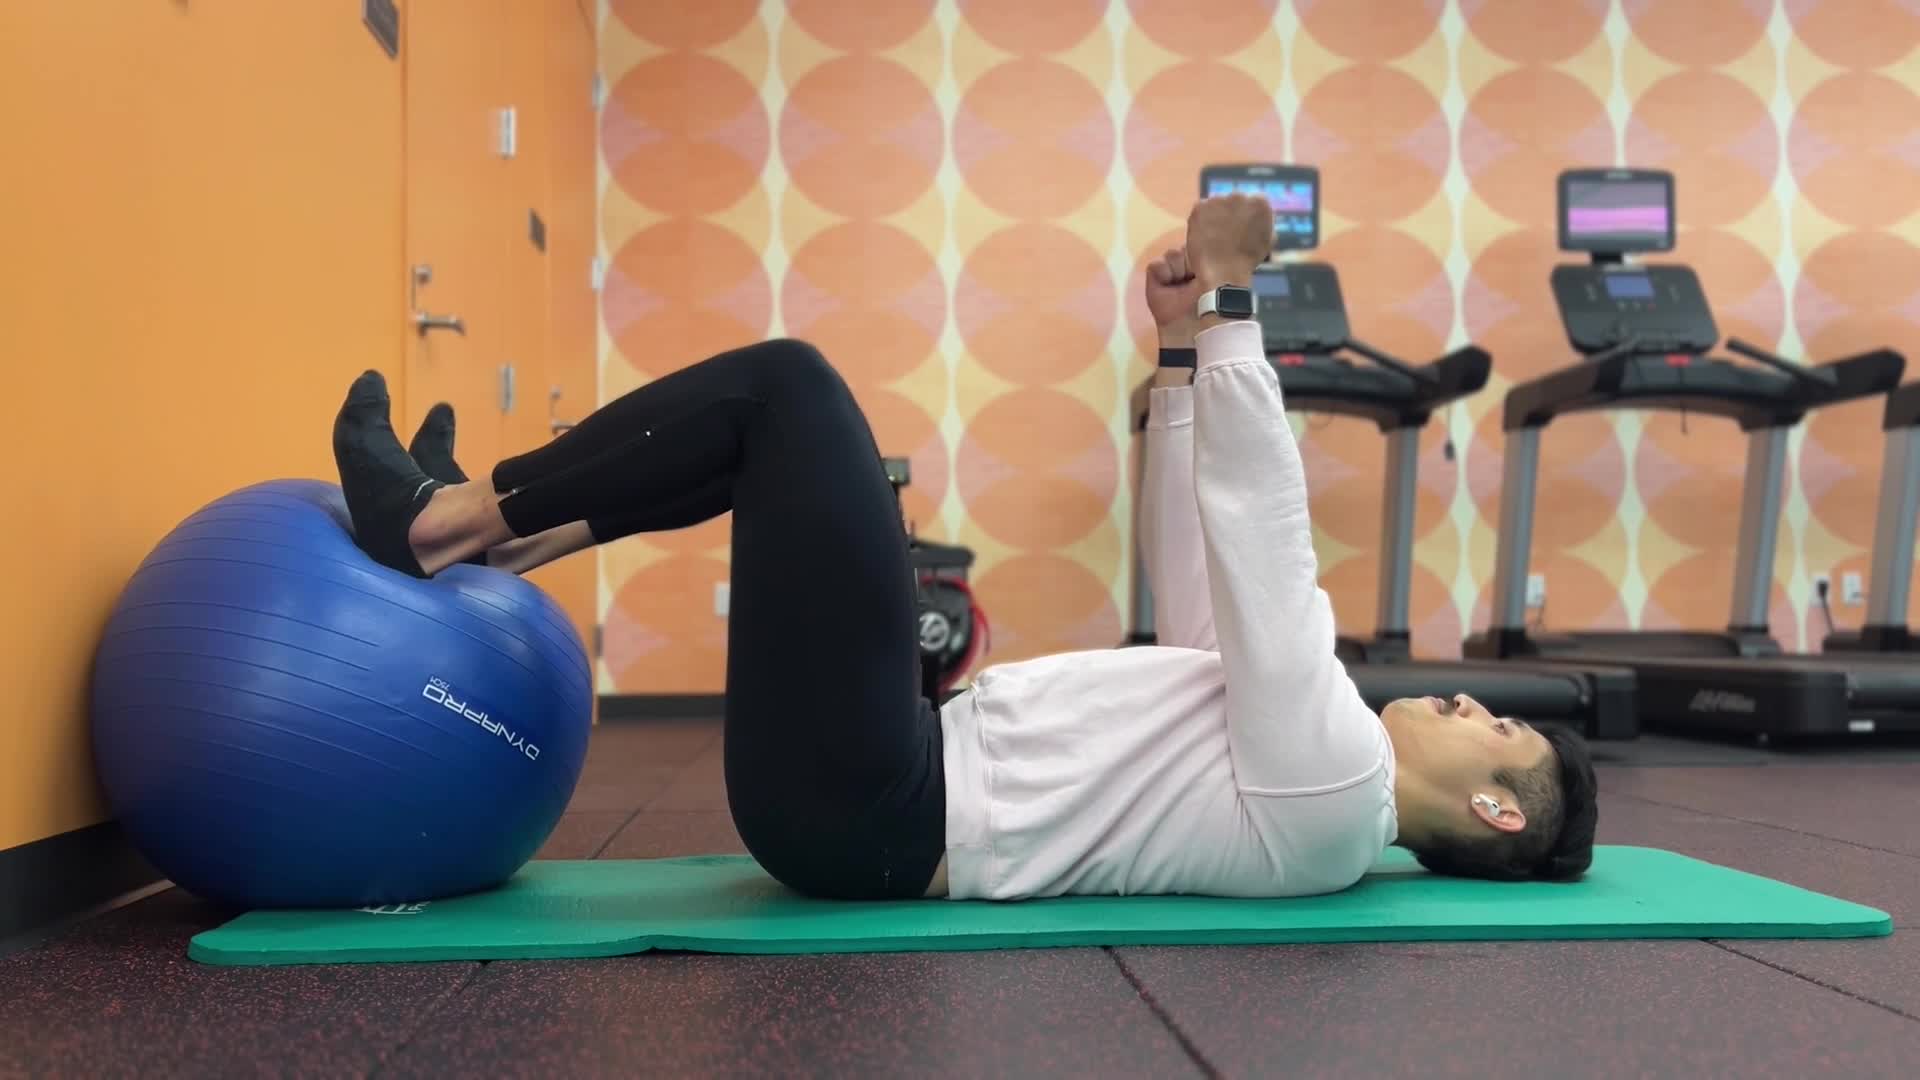
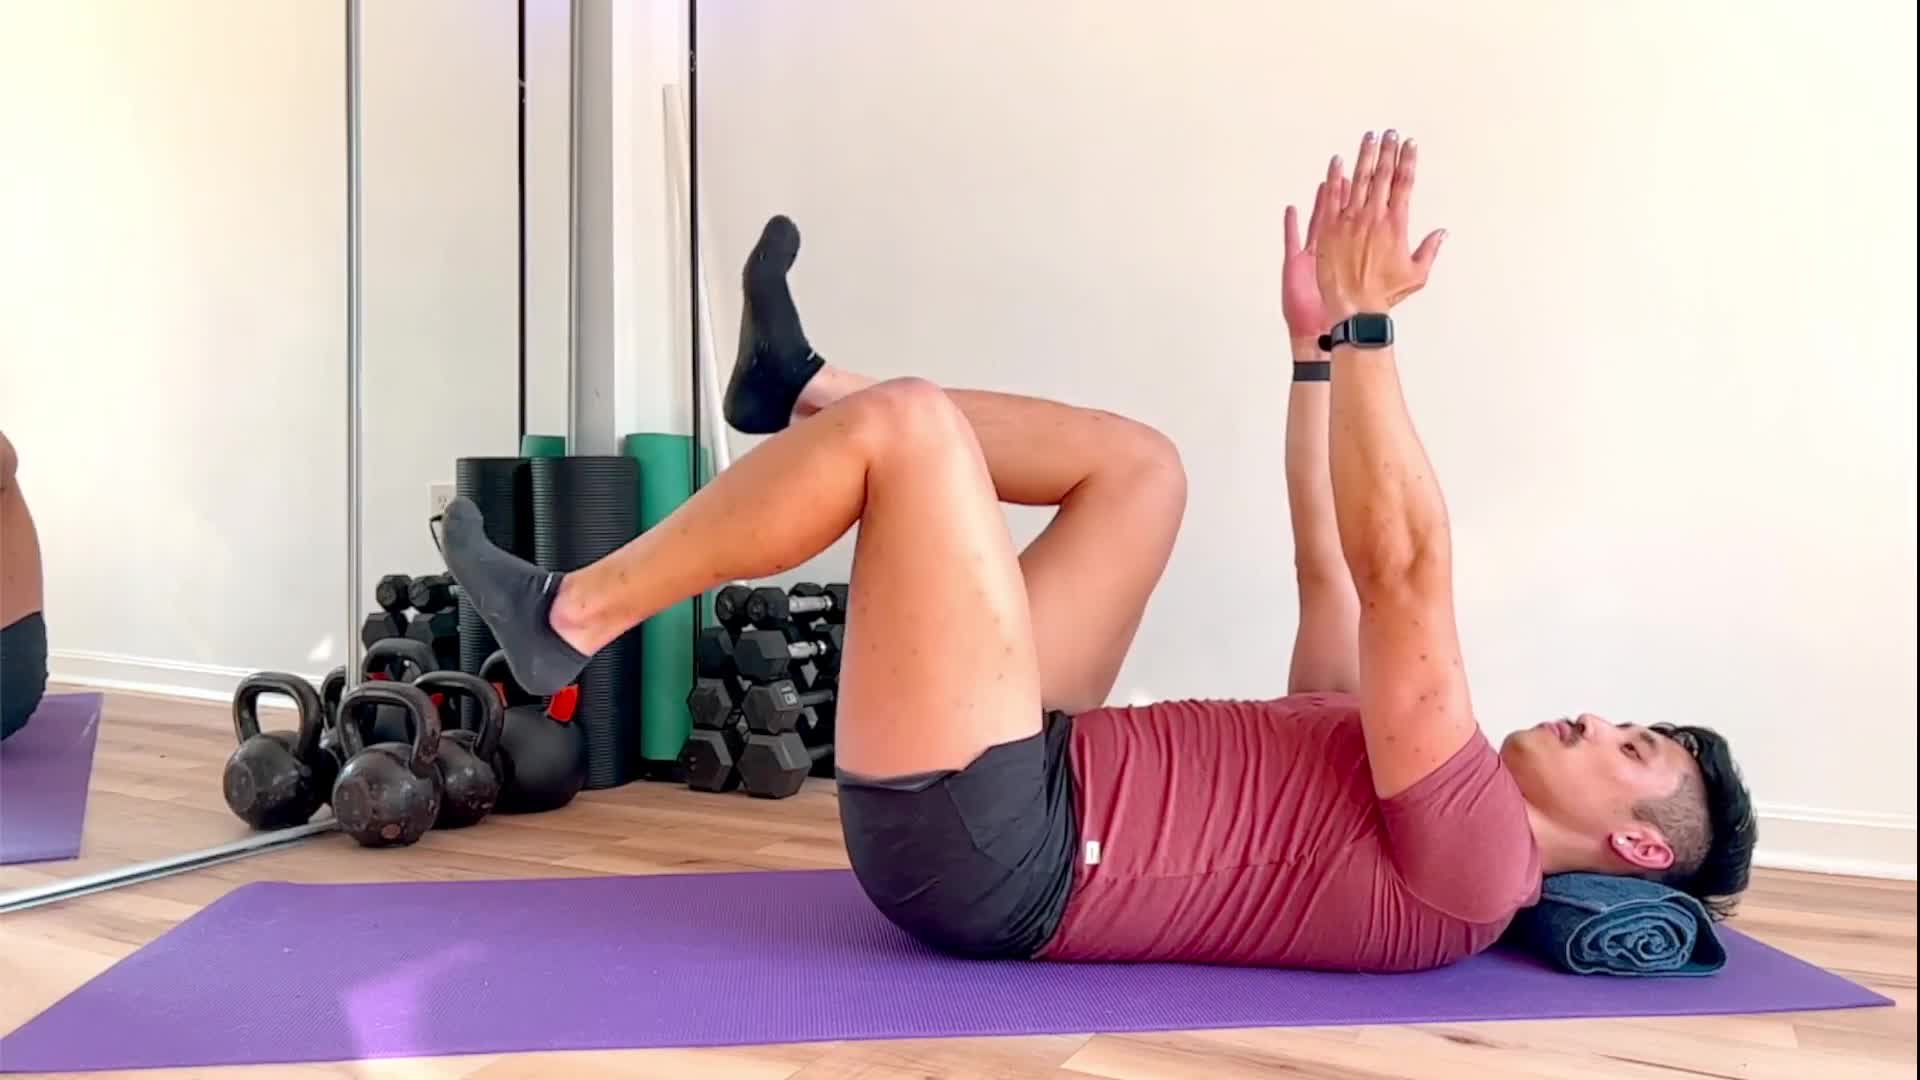
-Deadbug Breathing
Will lock in your torso and learn how to engage your pelvis with feedback from the floor to help you get into a neutral pelvis, and then getting to move your hips as your flex & extend, so a GREAT move! Highly Recommend!
4. MOVEMENT
This weeks coverage of movement is focused on isometrics to help you create space or expand your range of motion. Make sure you are focusing on time under tension so you can actually achieve this expanded range of motion. Try to create tension for at least 10-20 seconds of max effort holding that position before resting. And remember, QUALITY of quantity! 1-2 reps is better than 10 crappy ones.
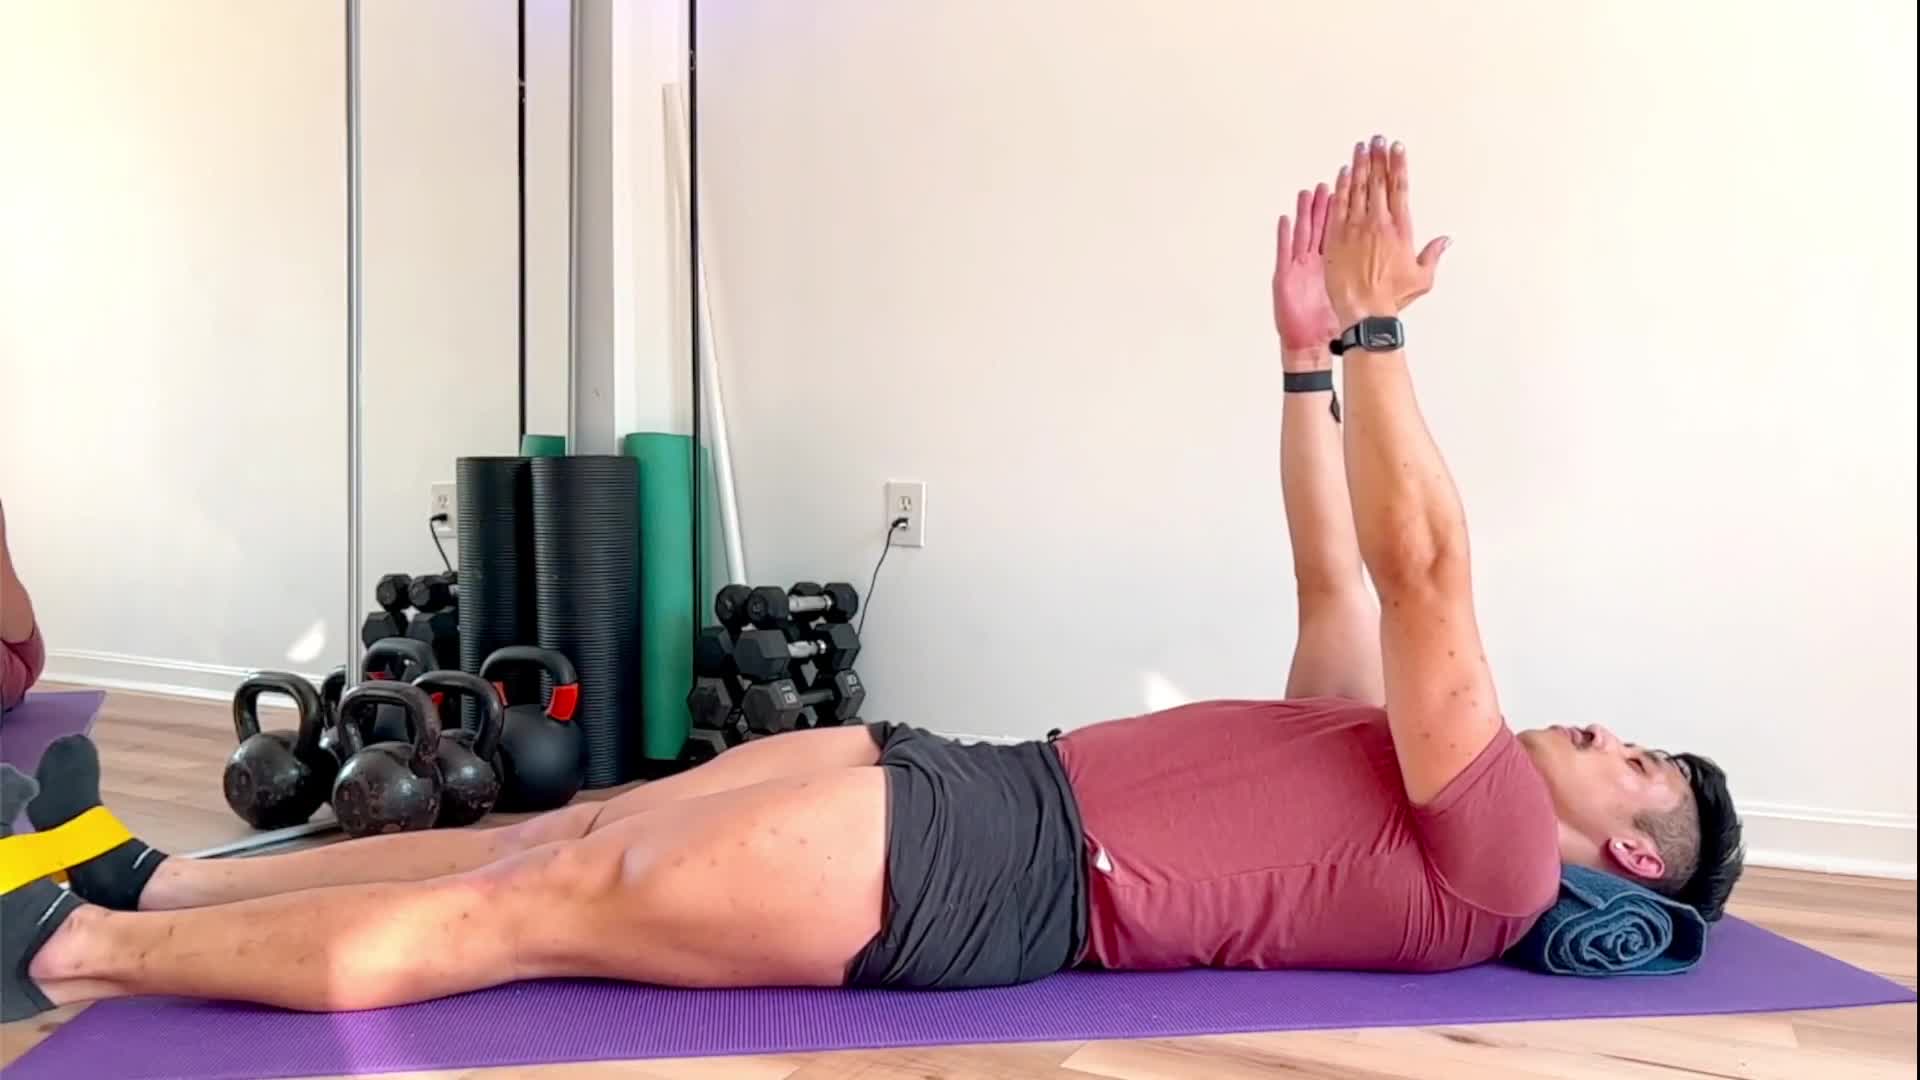
Lying Hip Flexion Isometrics
Half Kneeling hip Flexor Isometric Stretch
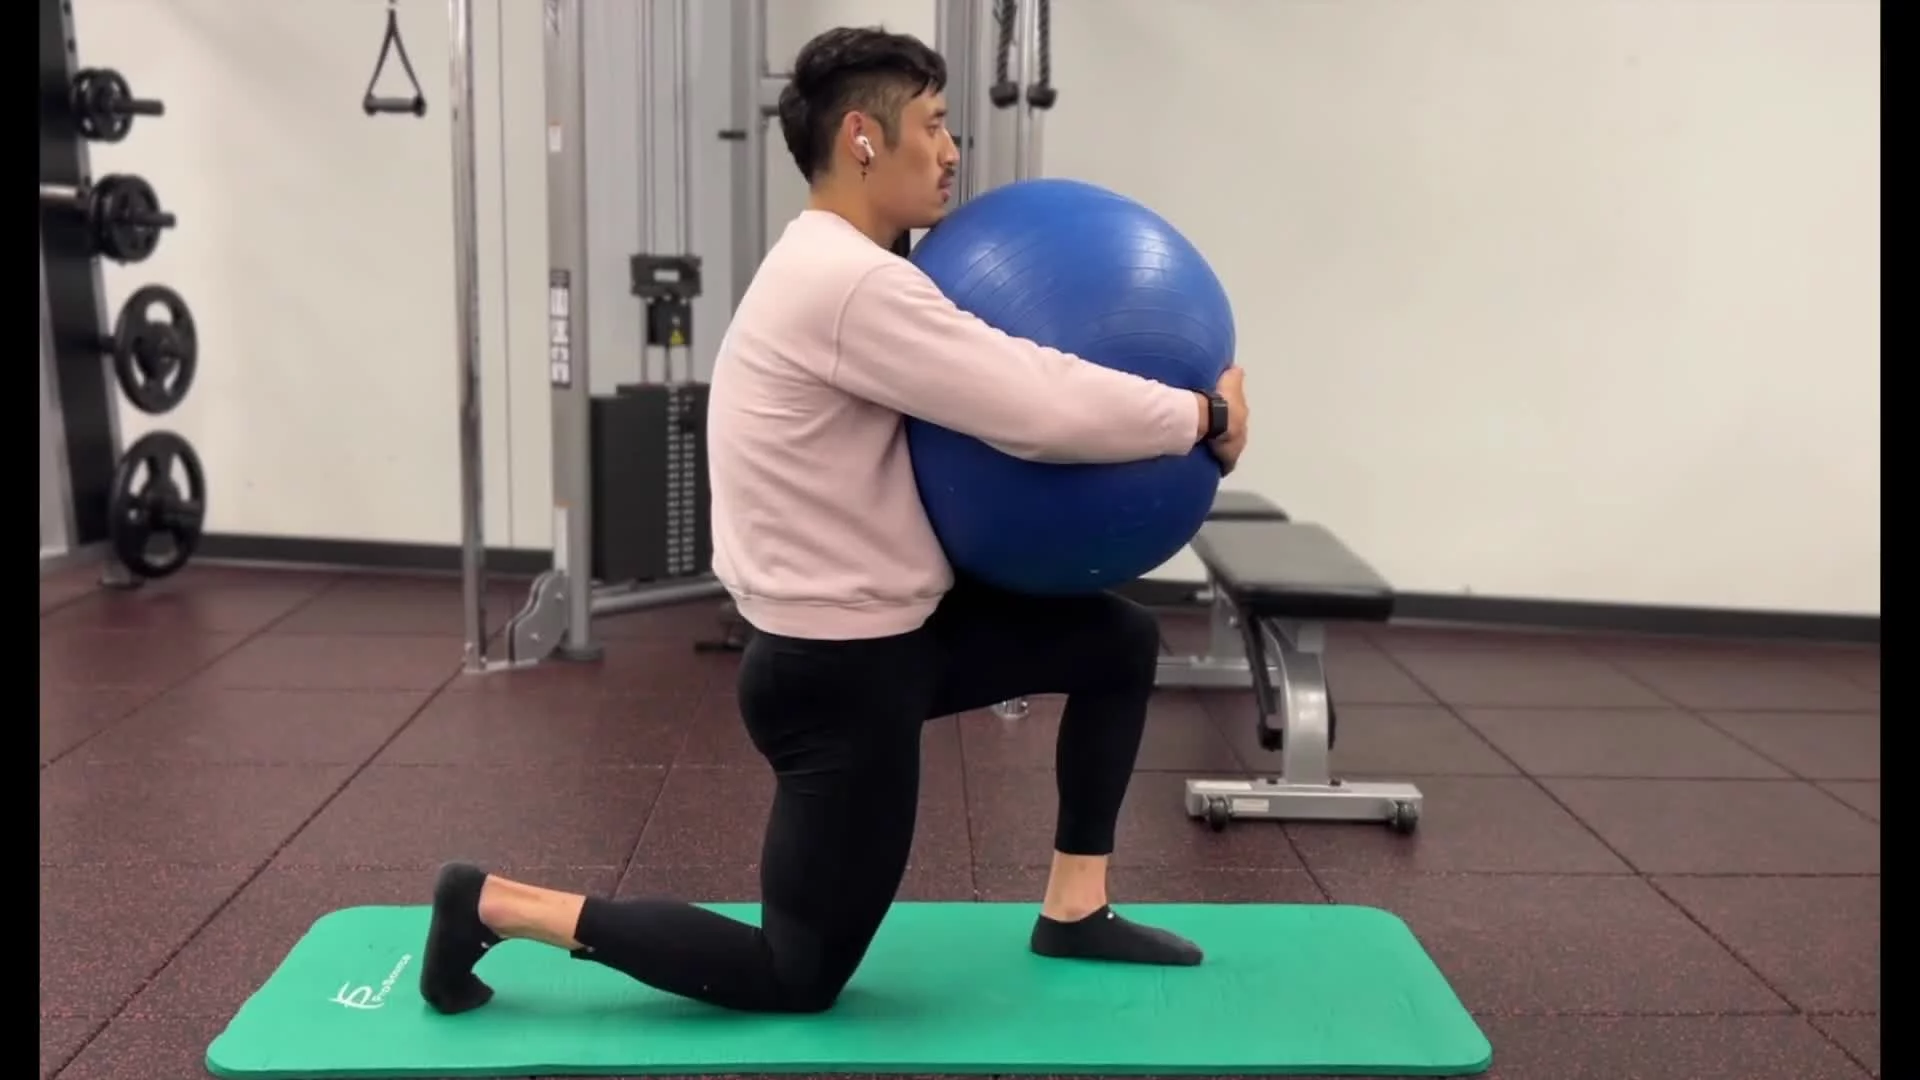
Split Squat Isometric
Lying Hip Flexion Resisted
Lying Hip Extension Resisted
Deadbug Progression
Stability Ball Glute Bridge


Sources:
*Check out this article on Fascia: Bordoni B, Mahabadi N, Varacallo M. Anatomy, Fascia. [Updated 2021 Jul 22]. In: StatPearls [Internet]. Treasure Island (FL): StatPearls Publishing; 2022 Jan-. Available from: https://www.ncbi.nlm.nih.gov/books/NBK493232/
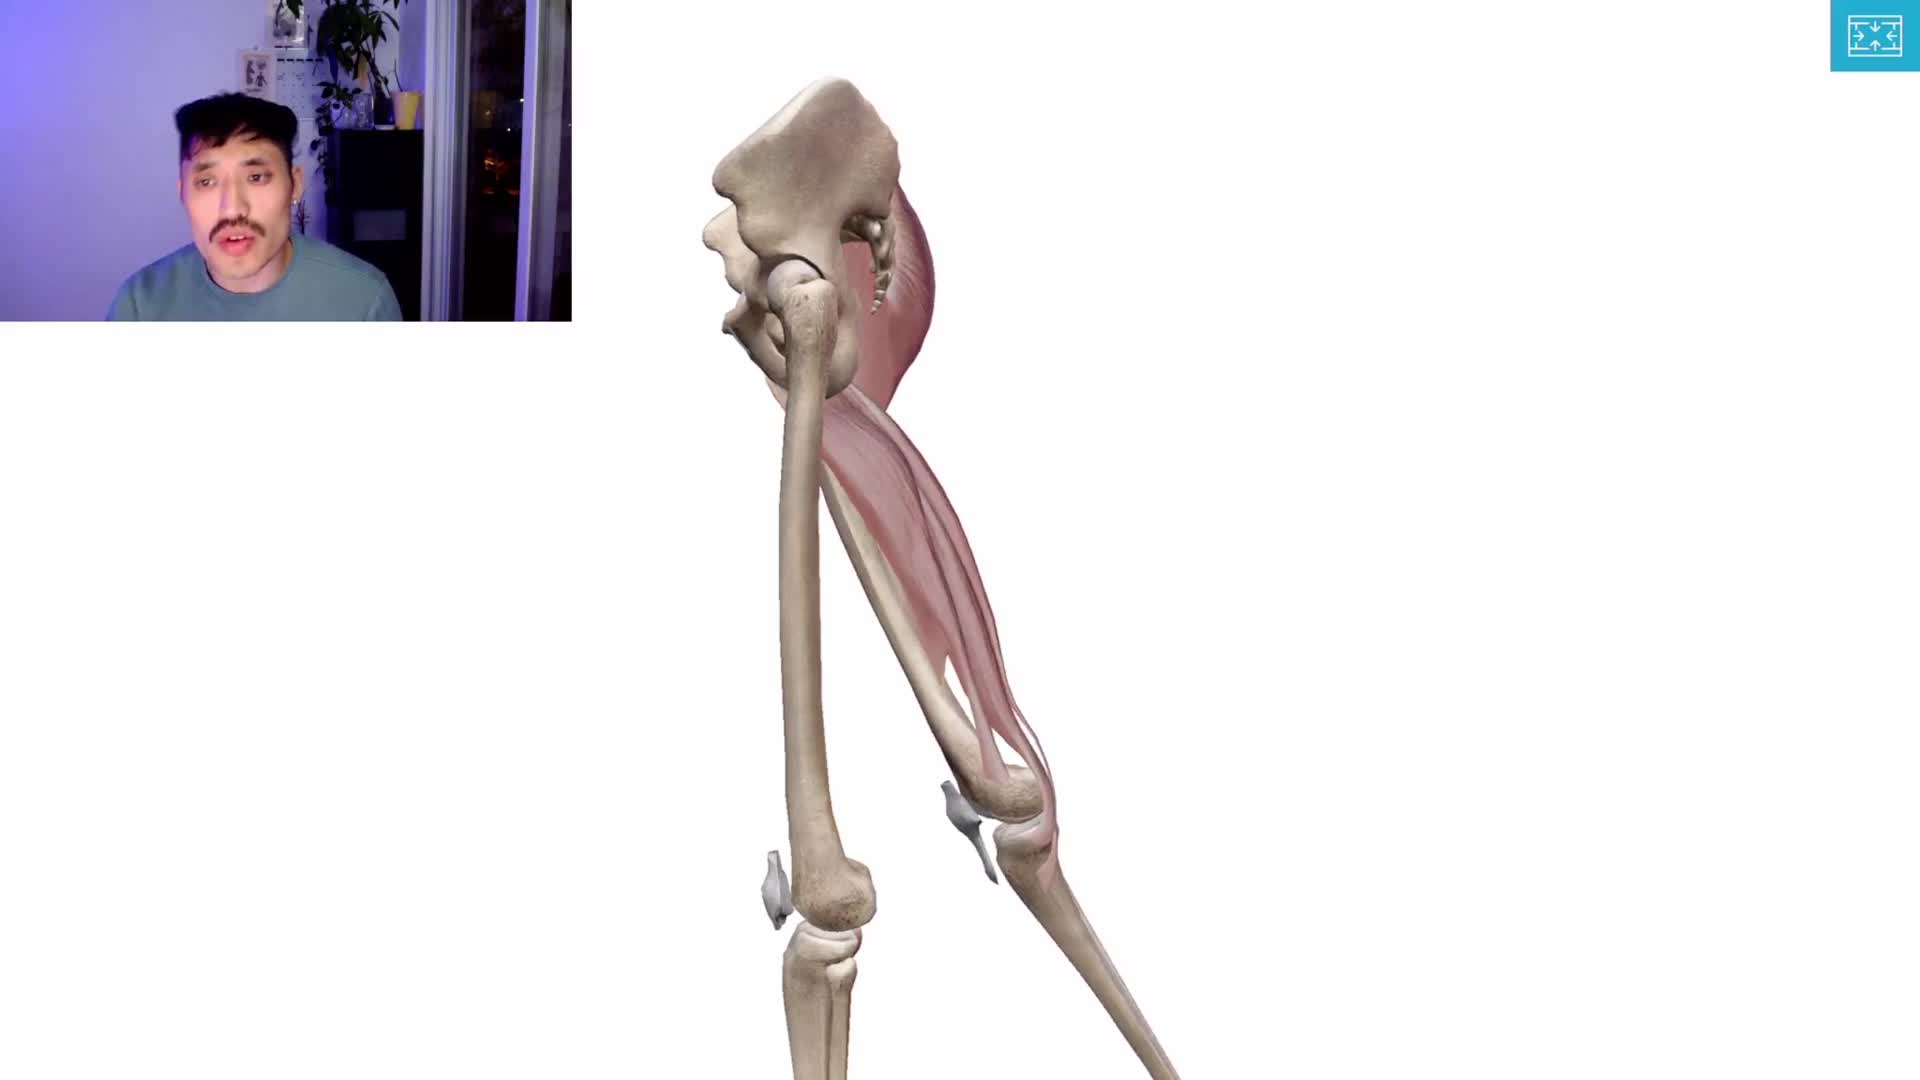
Learn about Hip Flexion, the muscles involved, and how flexion occurs at the hip.
Hip Flexion is when your knee bends towards your body